Version Control Using Git: A Practical Guide for Student Projects
Learn the Git commands, branching workflow, recovery methods, and collaboration habits that keep final-year project code organized, secure, and ready for GitHub.
A final-year project can contain months of code, database scripts, reports, screenshots, and contributions from several teammates. Yet many students still manage versions through folders named project-final, project-final-new, and project-final-last.
That approach works until a login feature breaks, a teammate overwrites your files, or the only working copy disappears before the demo.
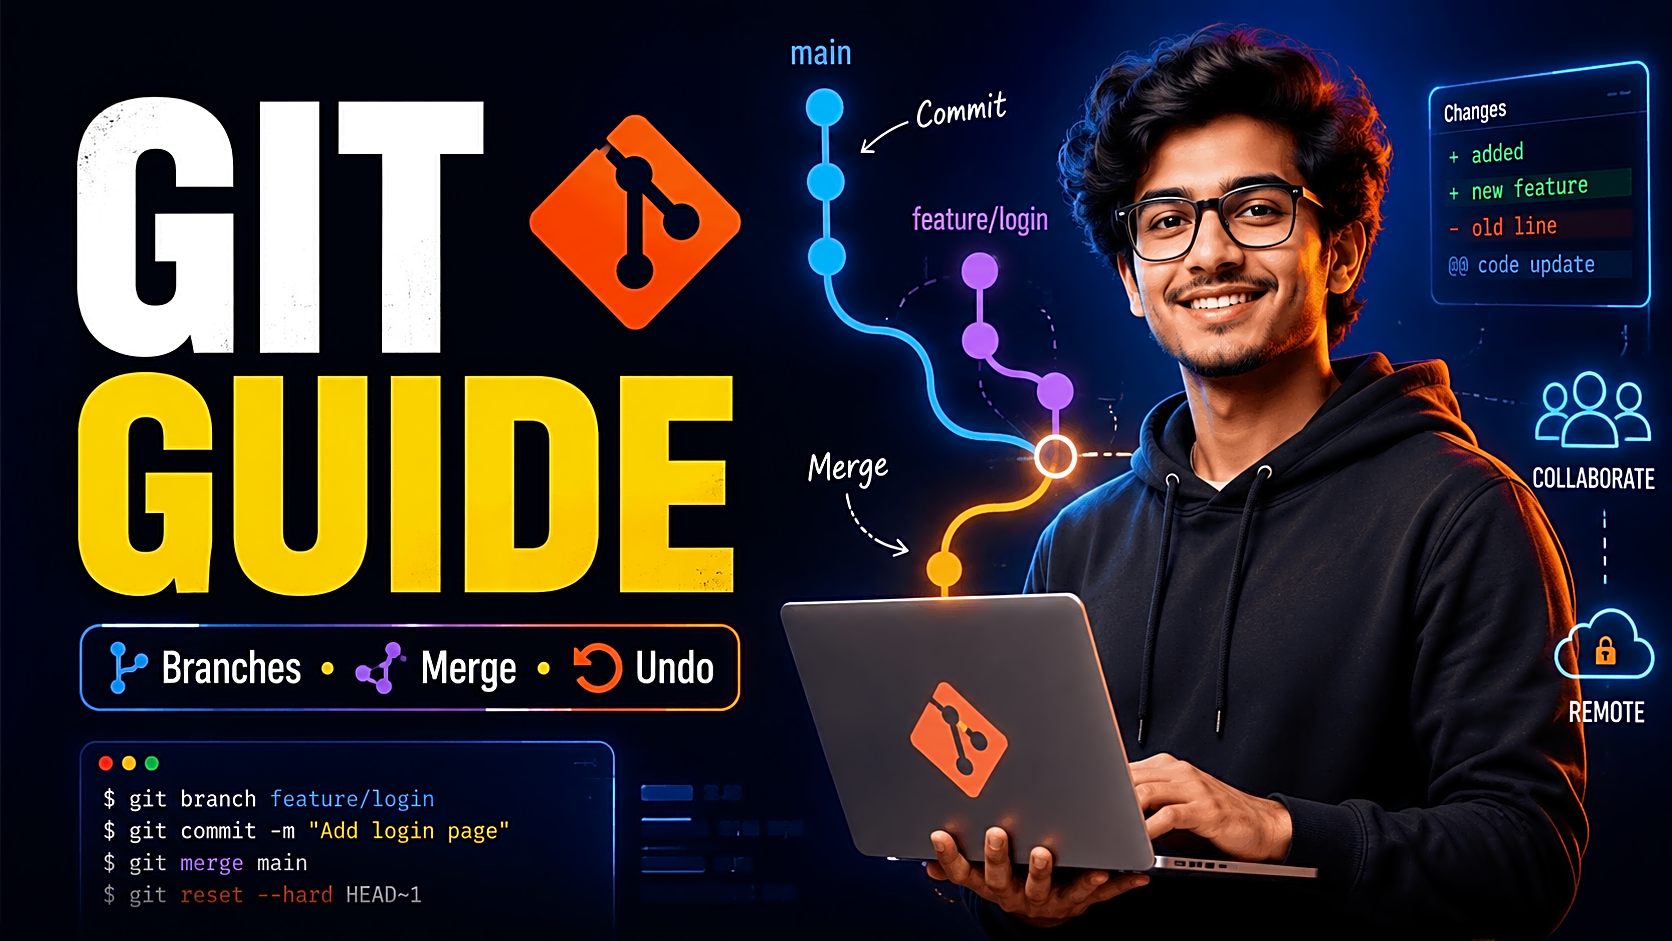
Version control using Git replaces risky folder copies with a structured project history. Git records meaningful checkpoints, shows exactly what changed, supports safe experiments through branches, and helps teams combine work without sending ZIP files repeatedly.
This guide explains Git from a student-project perspective: the core workflow, essential commands, branches, remotes, conflicts, safe undo methods, common errors, and a practical team routine.
Quick Answer: What Is Version Control Using Git?
Version control using Git means recording changes to a project as a sequence of commits. You edit files in the working directory, select changes in the staging area, save them to the local repository, and optionally push them to a remote repository such as GitHub.
A basic workflow looks like this:
git init
git status
git add .
git commit -m "Create initial project structure"
Git is the version-control system. GitHub is an online platform that hosts Git repositories and adds collaboration features such as pull requests, reviews, issues, and branch protection.
How Git Tracks Project Changes
Understanding four areas makes most Git commands easier:
|
Area |
What It Contains |
Typical Action |
|
Working directory |
Files currently being edited |
Modify code |
|
Staging area |
Changes selected for the next commit |
git add |
|
Local repository |
Commits stored on your computer |
git commit |
|
Remote repository |
Shared online project history |
git push |
The normal movement is:
Working directory → staging area → local repository → remote repository
A commit is not simply another copied folder. It is a recorded project snapshot with an identifier, message, author, and position in the repository history.
Why Final-Year Students Should Use Git
Git is useful even when you are working alone. It lets you compare versions, identify when a bug appeared, return to a working state, and test a feature without damaging the stable project.
It becomes essential in group projects. Imagine four students building a Library Management System:
- one develops authentication;
- one builds book issue and return;
- one creates reports;
- one designs the interface.
Without Git, combining folders can overwrite code. With Git, each student develops on a separate feature branch and submits the work for review before it enters main.
A clean repository also strengthens project presentation. Meaningful commits, a professional README, screenshots, setup instructions, and visible contribution history help teachers and recruiters understand how the project was built.
Git, GitHub, GitHub Desktop, and VS Code
|
Tool |
Main Purpose |
Best Use |
|
Git |
Tracks changes and history locally |
Daily version control |
|
GitHub |
Hosts repositories and team workflows |
Sharing, reviews, pull requests |
|
GitHub Desktop |
Provides a visual Git interface |
Beginners avoiding the terminal |
|
VS Code Source Control |
Adds Git controls inside the editor |
Convenient coding workflow |
Students should still understand the basic Git model even when using a graphical interface. Knowing what staging, committing, pulling, and pushing mean prevents accidental mistakes.
Essential Git Commands for Beginners
|
Command |
Purpose |
|
git init |
Start a repository in the current folder |
|
git clone URL |
Copy an existing remote repository |
|
git status |
View changed, staged, and untracked files |
|
git add file |
Stage one file |
|
git add . |
Stage current changes |
|
git commit -m "message" |
Save a checkpoint |
|
git diff |
Inspect unstaged changes |
|
git log --oneline |
View compact commit history |
|
git switch -c branch |
Create and enter a branch |
|
git merge branch |
Combine a branch into the current branch |
|
git fetch |
Download remote information without integrating it |
|
git pull |
Fetch and integrate remote changes |
|
git push |
Upload local commits |
Remember that git add stages the file’s current content. If you edit the file again, the new edits must be staged separately.
Step-by-Step Git Workflow for a Student Project
1. Install and configure Git
After installing Git, verify it and set the identity stored with your commits:
git --version
git config --global user.name "Your Name"
git config --global user.email "[email protected]"
Use a professional email when the repository may appear in your portfolio or placement profile.
2. Open the correct project root
Run Git inside the main project folder—not an unrelated parent folder or one nested module.
cd path/to/student-management-system
git init
git status
3. Create .gitignore before the first commit
A .gitignore file prevents unnecessary or sensitive files from being tracked.
For Node.js:
node_modules/
.env
dist/
For Python:
venv/
__pycache__/
.env
*.pyc
Do not commit passwords, API keys, real environment files, personal records, dependency folders, caches, or large ZIP archives. If a secret is accidentally published, removing the file from the latest commit is not enough; rotate or revoke the exposed credential.
4. Make the first commit
git add .
git commit -m "Create initial project structure"
Use messages that describe completed work. Prefer Add attendance report over updated, done, or final.
5. Build features on branches
git switch -c feature-student-login
Develop and test the feature, then save it:
git add .
git commit -m "Add student login validation"
Branch names such as feature-admin-dashboard, fix-login-validation, and docs-setup-guide make the project history easier to understand.
6. Merge tested work
git switch main
git merge feature-student-login
Run the complete application after merging. A technically successful merge can still create route, database, UI, or integration bugs.
7. Connect GitHub
After creating an empty remote repository:
git remote add origin YOUR_REPOSITORY_URL
git branch -M main
git push -u origin main
In a team, push the feature branch and open a pull request rather than placing unfinished changes directly on main. Pull requests provide a structured place to propose, discuss, review, and merge changes.
How to Clone an Existing Repository
Use git init when starting version control in an existing local folder. Use git clone when the repository already exists online.
git clone REPOSITORY_URL
cd repository-name
git status
git branch
Cloning creates the local project folder, downloads its history, and configures the remote connection. After cloning a team repository, create your own feature branch before editing.
Git Fetch vs Git Pull
These commands are related but not identical:
|
Command |
What It Does |
Best Use |
|
git fetch |
Downloads remote references without changing your current work |
Inspect remote updates safely |
|
git pull |
Fetches and integrates updates into the current branch |
Update a branch when integration is expected |
Before beginning team work, use git pull on the correct branch. When you want to inspect what changed before merging, use git fetch and review the remote branch first. Official Git documentation describes git pull as running fetch and then integrating the selected remote branch.
Practical Git Workflow for Group Projects
A reliable student-team routine is:
- Keep main stable and demo-ready.
- Pull the latest changes before starting.
- Create one branch for each feature or fix.
- Commit small, complete changes.
- Push the feature branch.
- Open a pull request.
- Review code and test the integration.
- Merge only after approval.
Divide ownership clearly, but communicate before modifying shared files such as routes, schemas, configuration, and central UI layouts.
How to Resolve a Merge Conflict
A merge conflict occurs when Git cannot automatically combine competing changes.
Start with:
git status
A conflicted file may contain:
<<<<<<< HEAD
current branch code
=======
incoming branch code
>>>>>>> feature-branch
Read both versions, create the correct combined code, remove the markers, and test the affected module. Then complete the resolution:
git add conflicted-file
git commit -m "Resolve login module merge conflict"
Do not accept one side blindly. Check imports, routes, database queries, variable names, and dependent interface code.
How to Undo Changes Safely
Choose the least destructive command that solves the problem:
|
Situation |
Safer Command |
Important Note |
|
Discard unstaged changes in one file |
git restore file |
Uncommitted edits are removed |
|
Unstage a file |
git restore --staged file |
Working-file changes remain |
|
Reverse a shared commit |
git revert COMMIT_ID |
Creates a new corrective commit |
|
Rewrite local history |
git reset |
Use cautiously; avoid on shared commits |
For team repositories, git revert is normally safer than rewriting public history because it preserves the existing commit sequence.
Common Git Errors and Quick Fixes
“Please tell me who you are”
Configure user.name and user.email.
“Remote origin already exists”
Check the configured remote with git remote -v, then update or remove the incorrect URL.
“Rejected non-fast-forward”
The remote contains changes missing locally. Pull or fetch, integrate them, resolve any conflict, and push again.
“Nothing to commit”
Git does not detect new tracked changes. Check the folder, branch, .gitignore, and file-saving status.
Authentication failed
Use the authentication method supported by the remote platform, such as a personal access token, credential manager, or SSH.
Ten-Minute Git Practice Exercise
Create a small folder containing README.md, then complete this sequence:
git init
git add README.md
git commit -m "Add project README"
git switch -c feature-description
Edit the README, commit the change, return to main, and merge:
git add README.md
git commit -m "Add project description"
git switch main
git merge feature-description
git log --oneline --graph --all
This short exercise demonstrates initialization, staging, commits, branching, merging, and history visualization without risking your main project.
Frequently Asked Questions
Is Git the same as GitHub?
No. Git tracks versions locally. GitHub hosts Git repositories online and provides collaboration features.
Can I use Git without GitHub?
Yes. Git works locally. A remote host becomes useful for sharing, backup, reviews, and teamwork.
How often should students commit?
Commit whenever a small logical unit is complete and working, such as a form, CRUD operation, bug fix, test, or documentation update.
Should database files be committed?
Commit schemas, migrations, and safe sample data when useful. Do not commit production databases, personal records, or credentials.
How can students avoid merge conflicts?
Use feature branches, pull recent updates, divide work clearly, make smaller commits, and communicate before changing shared files.
Is Git useful for viva and placements?
Yes. A structured repository demonstrates development history, teamwork, testing, troubleshooting, documentation, and professional project presentation.
Conclusion
Version control using Git replaces fragile folder copies with a reliable development history. Start with the basic cycle—edit, inspect, stage, and commit—then add branches, remotes, pull requests, conflict resolution, and safe recovery commands.
For final-year projects, consistency matters more than memorizing every Git command. Start the repository when development begins, protect secrets with .gitignore, make meaningful commits, keep main stable, and use feature branches for teamwork.
That workflow makes your project easier to debug, publish, deploy, explain in viva, and present as genuine development experience.
Add a named author, technical reviewer, test environment, and sample-repository link before publication to complete the E-E-A-T layer.